I made another maxi dress last week. This was a combination of the Maria Denmark Kimono T and the So Sew Easy wrap dress, lengthened to a maxi version.
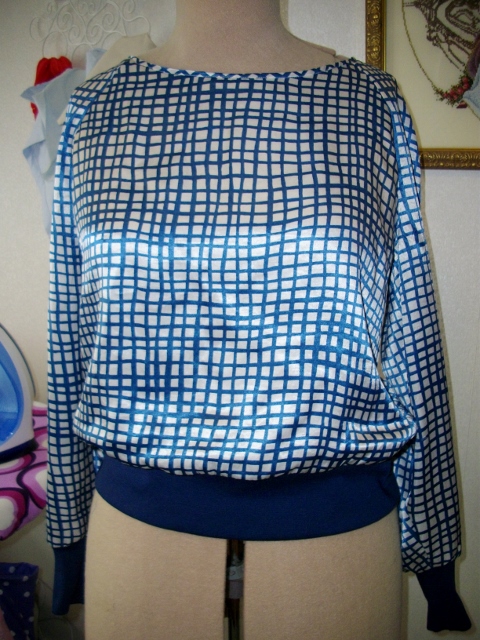
In my last post I thought I may have enough of the dark blue polka dot left over to make a skirt. Once I had the pattern assembled and checked against the fabric, there wasn't enough for a skirt. There was however enough for another Maria Denmark T shirt.
I finished another page on Spirit of Winter. Only 3 pages to go.
Last week I got my usual catalogue from Spotlight showing their reductions. Included was a $40 discount voucher to be used when total spend (including discounted items) was over $100. In fact I ended up with 3 of these vouchers. In the catalogue was one for me, one for a friend (me), and as I've also signed up online, I received an email with another $40 voucher. The only catch, if you can call it that, is you can only use one voucher per day. Not a problem if you are like me and have trouble staying out of the store. So today I went to Spotlight. For 2 hours! I was armed with a shopping list for items from BurdaStyle magazine that I want to try out.
Their special table has lots of discounted fabric, in addition there was an extra 50% of their super cheap discounted material. However after much searching, I could only find this on the discount table.
There was no label to identify the fabric but I think it is a polyester. After all the discounts this was $2.85. I have in mind to make this from BurdaStyle August 2015, 115a.
I also bought this poplin fabric, again with that above top in mind. Not sure if the poplin may be too stiff as it is a drapey top. This poplin was $10.12 after discounts
I bought this pretty voile. I really wanted something with small flowers but couldn't find anything. This was $22.59 after discounts.
I'm thinking of using this voile for BurdaStyle July 2015 115:
I got this gorgeous seersucker for $17.08 after discounts.
Of all my buys this is the one I'm probably most thrilled with as it was exactly what I wanted for BurdaStyle July2015 109
I also got this broadcloth for $11.38 after discounts.
This is to make some culottes from BurdaStyle August 15 131
I was carefully adding up my purchases and these came to $98. $2 short of qualifying for the $40 discount, so I bought an invisible zip. I couldn't remember if the dress needed one or not, but it will get used at some stage.
All in all a good days shopping


 Picture from Burdastyle. Description: Culottes are beautifully casual, are super-comfortable and make the calves look slimmer.


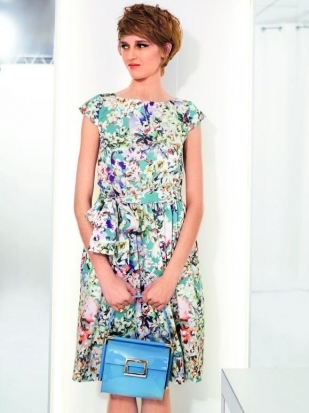 The magazine description says: Dress with short sleeves and tie belt. Dress in pastel floral fabric is utterly enchanting with its mini-sleeves and boat neckline. Elastic, stretched from the inside and sewn on at the waist, ensures that it sits perfectly. Over it the tie belt is tied in a blow. The wide band on the hem means that it falls nicely.


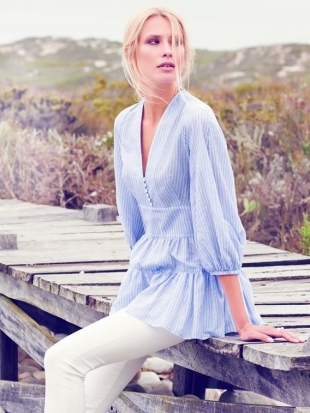 Magazine description: Romantic folk-style blouse. The low V-neckline with loop fastening and pearl buttons make this striped blouse particularly attractive. The sleeves are puffy as they would be in a farm-girl blouse, while two gathered panels of fabric create a romantic look from the waist down.
 My version